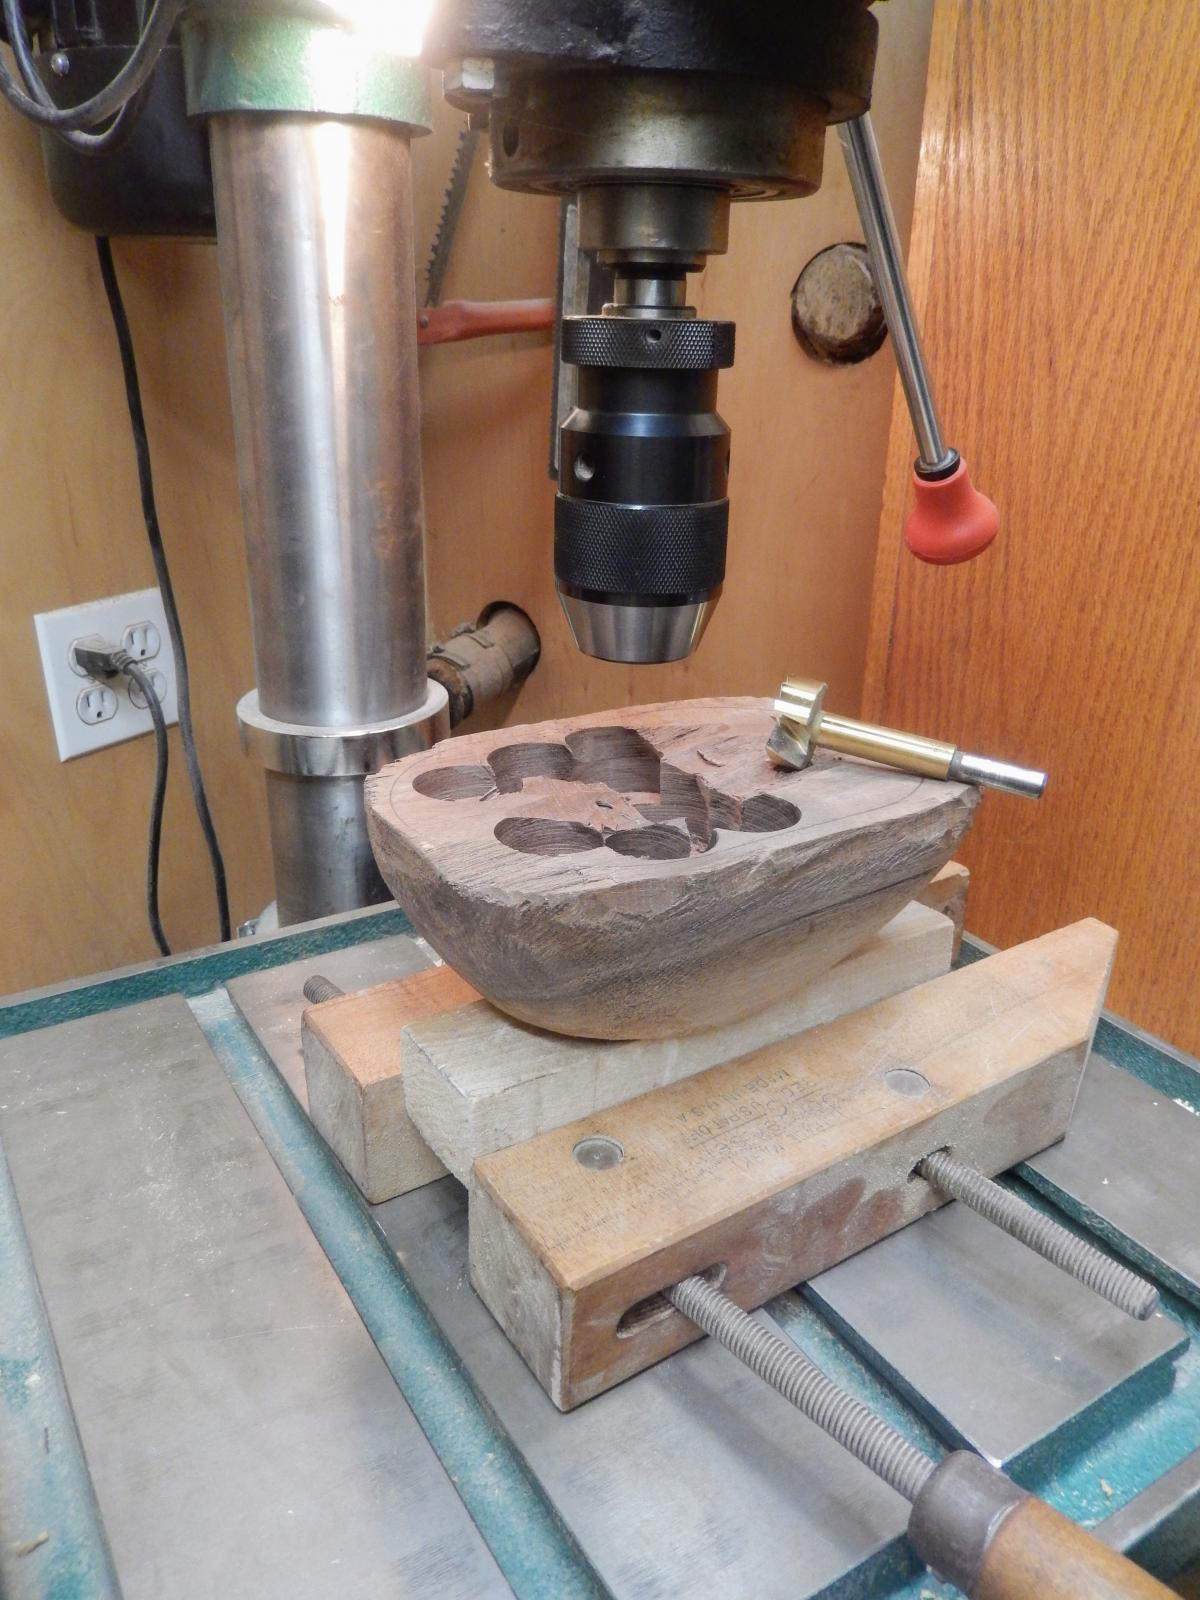
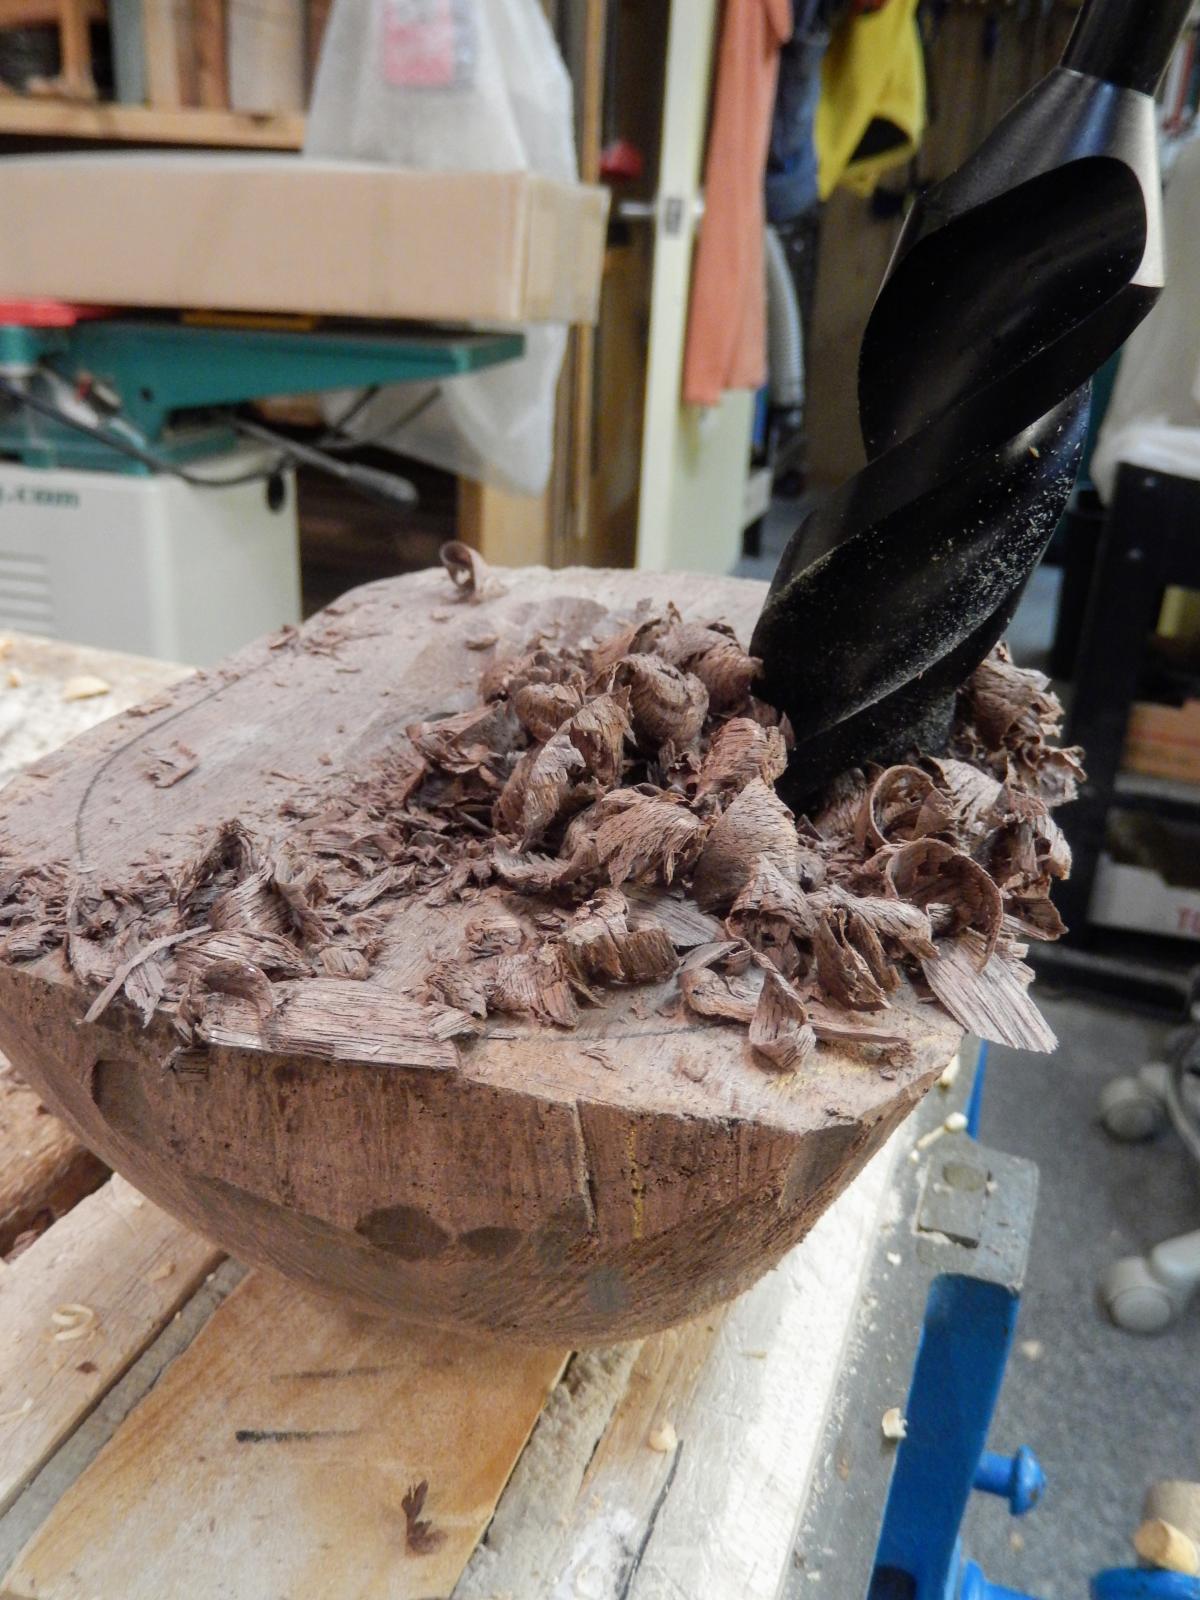
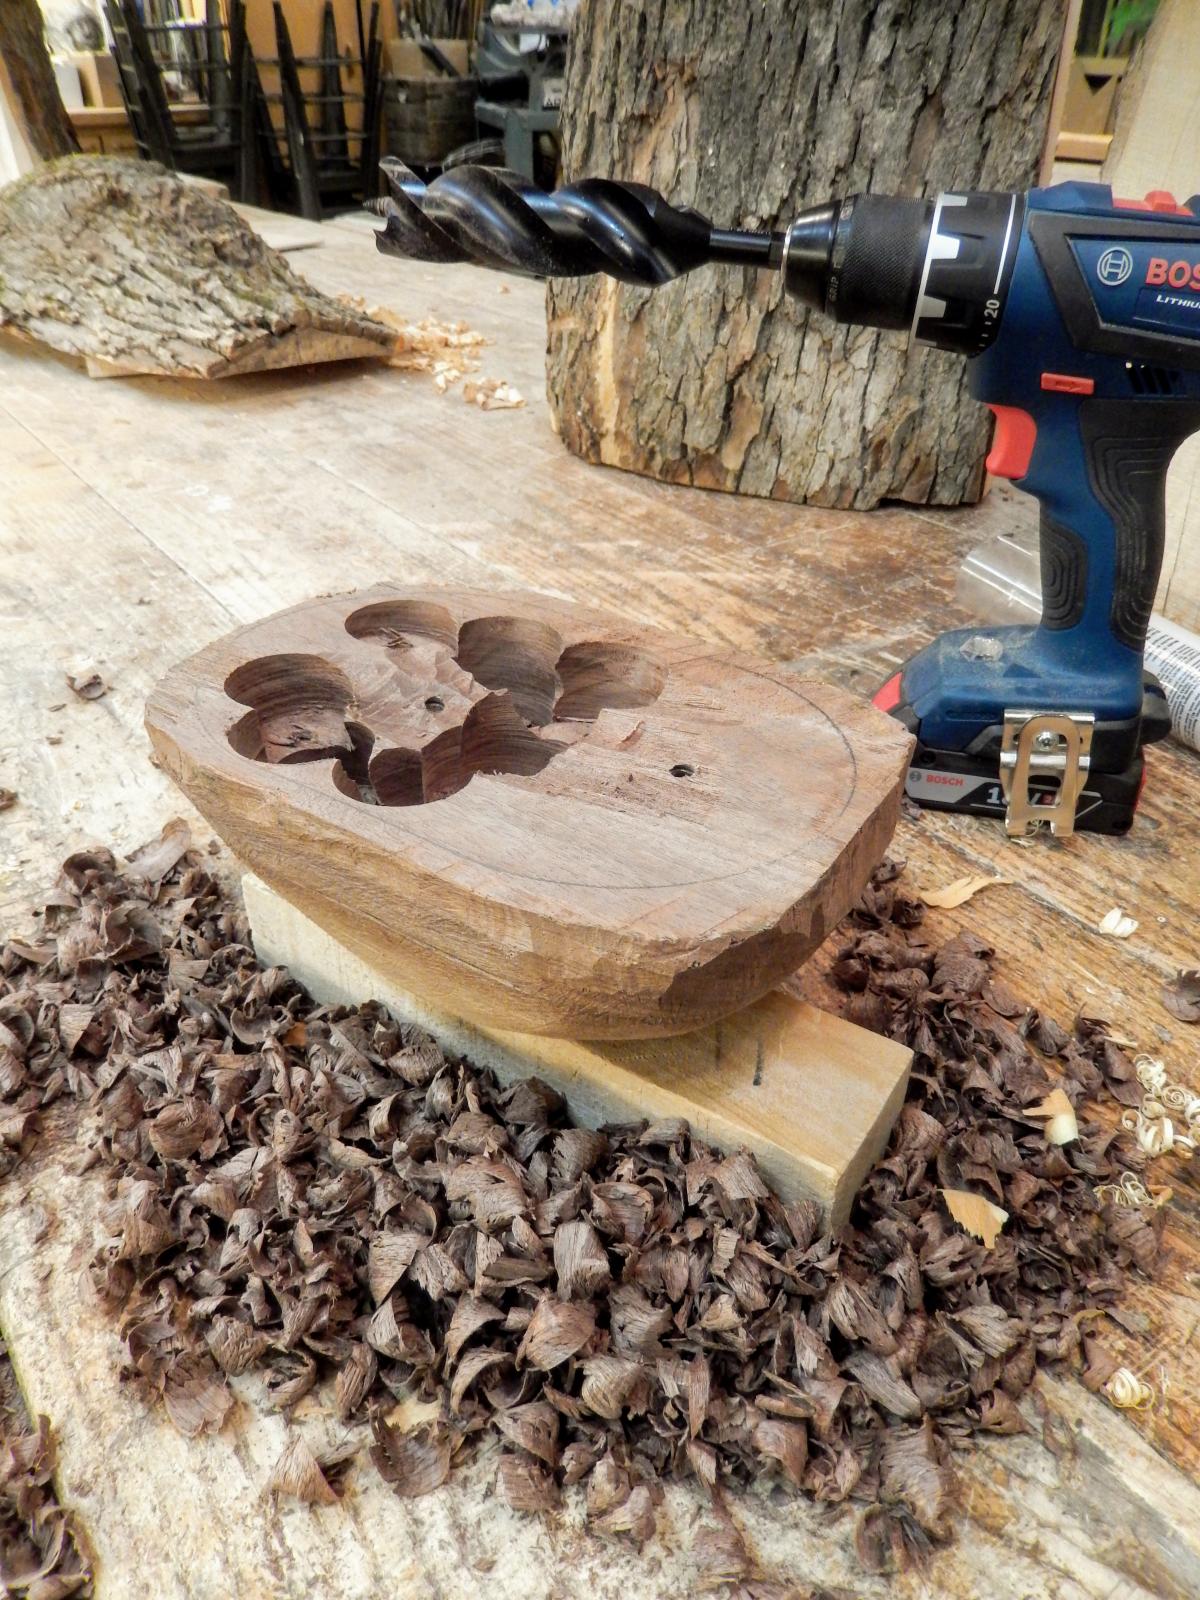
One of the easiests ways to speed up the hollowing of a bowl is to use a drill. A wide drill held by hand or better off - revolving in a drill press - will hog out a lot of wood very quickly. We, of course have to control where and how deep to drill, making sure that the stepped drilling process will correlate to the intended contour of the bowl’s scoop. Forstner bits are the safest to use because they don't have a lead screw to pull them in. But the flip side is that you’ll have to apply substentail force when drilling with a corded or cordless drill. So make sure to use a sharp Forstner bits and clear the chips routinely to avoid overheating.
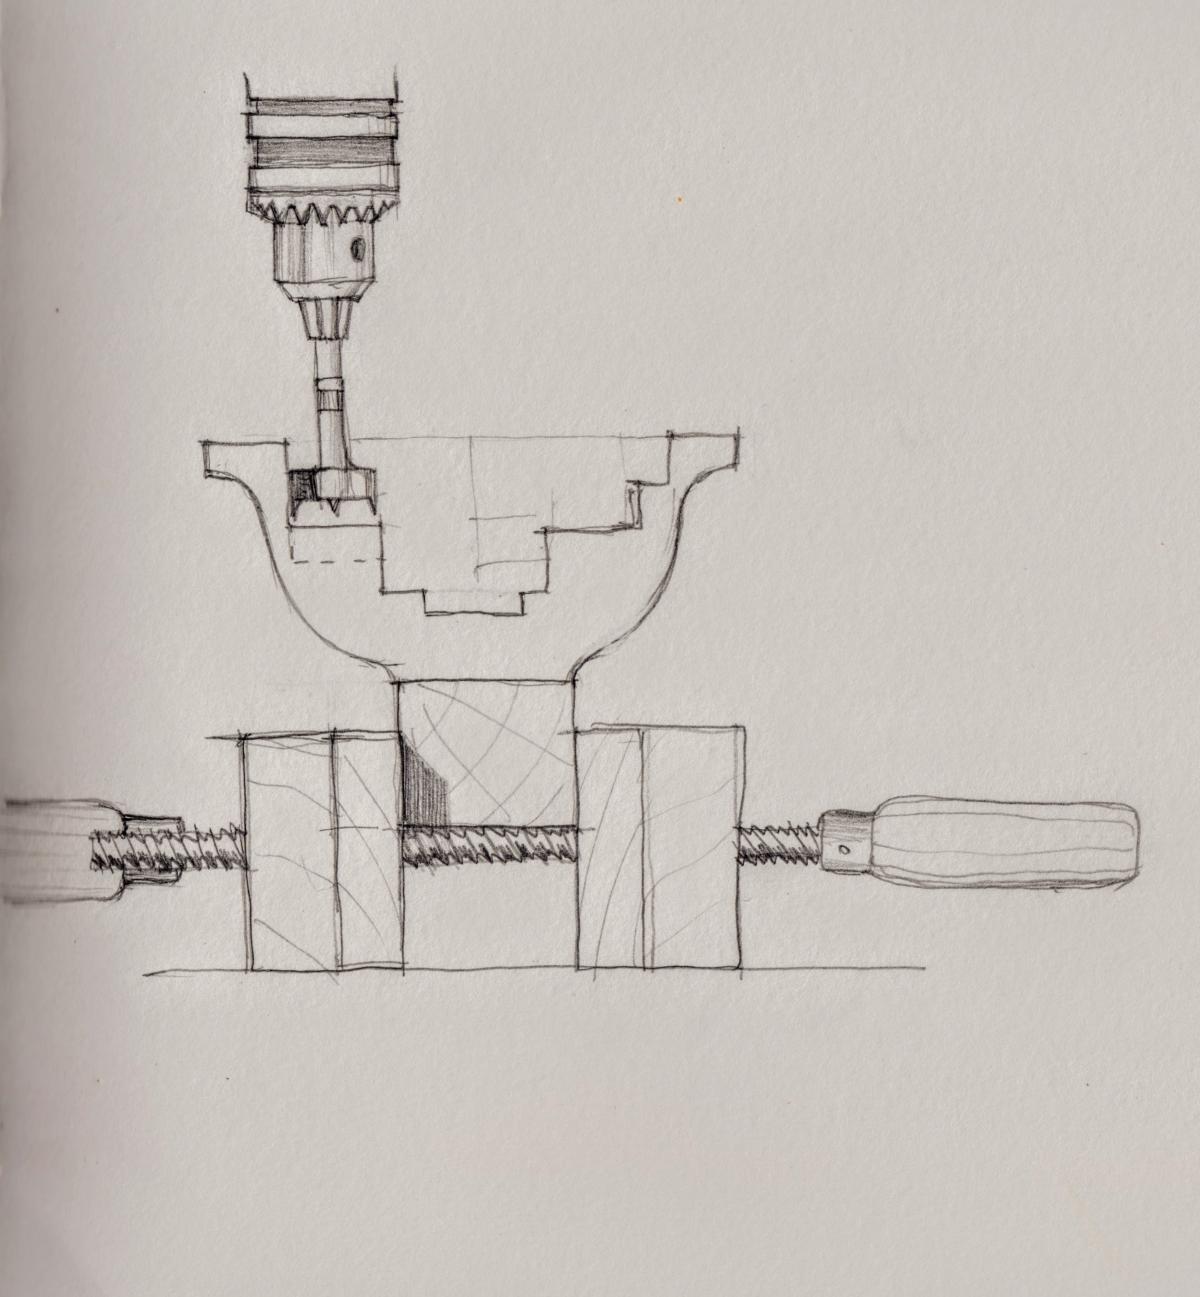
[Drawing : Hand screw bowl drilling]
One of the best ways to hold a bowl for drilling in the drill press is to clamp it in a hand screw clamp. Place the block that we glued earlier (onto the bowl blank’s keel) in the hand screw, and then drill progressively.
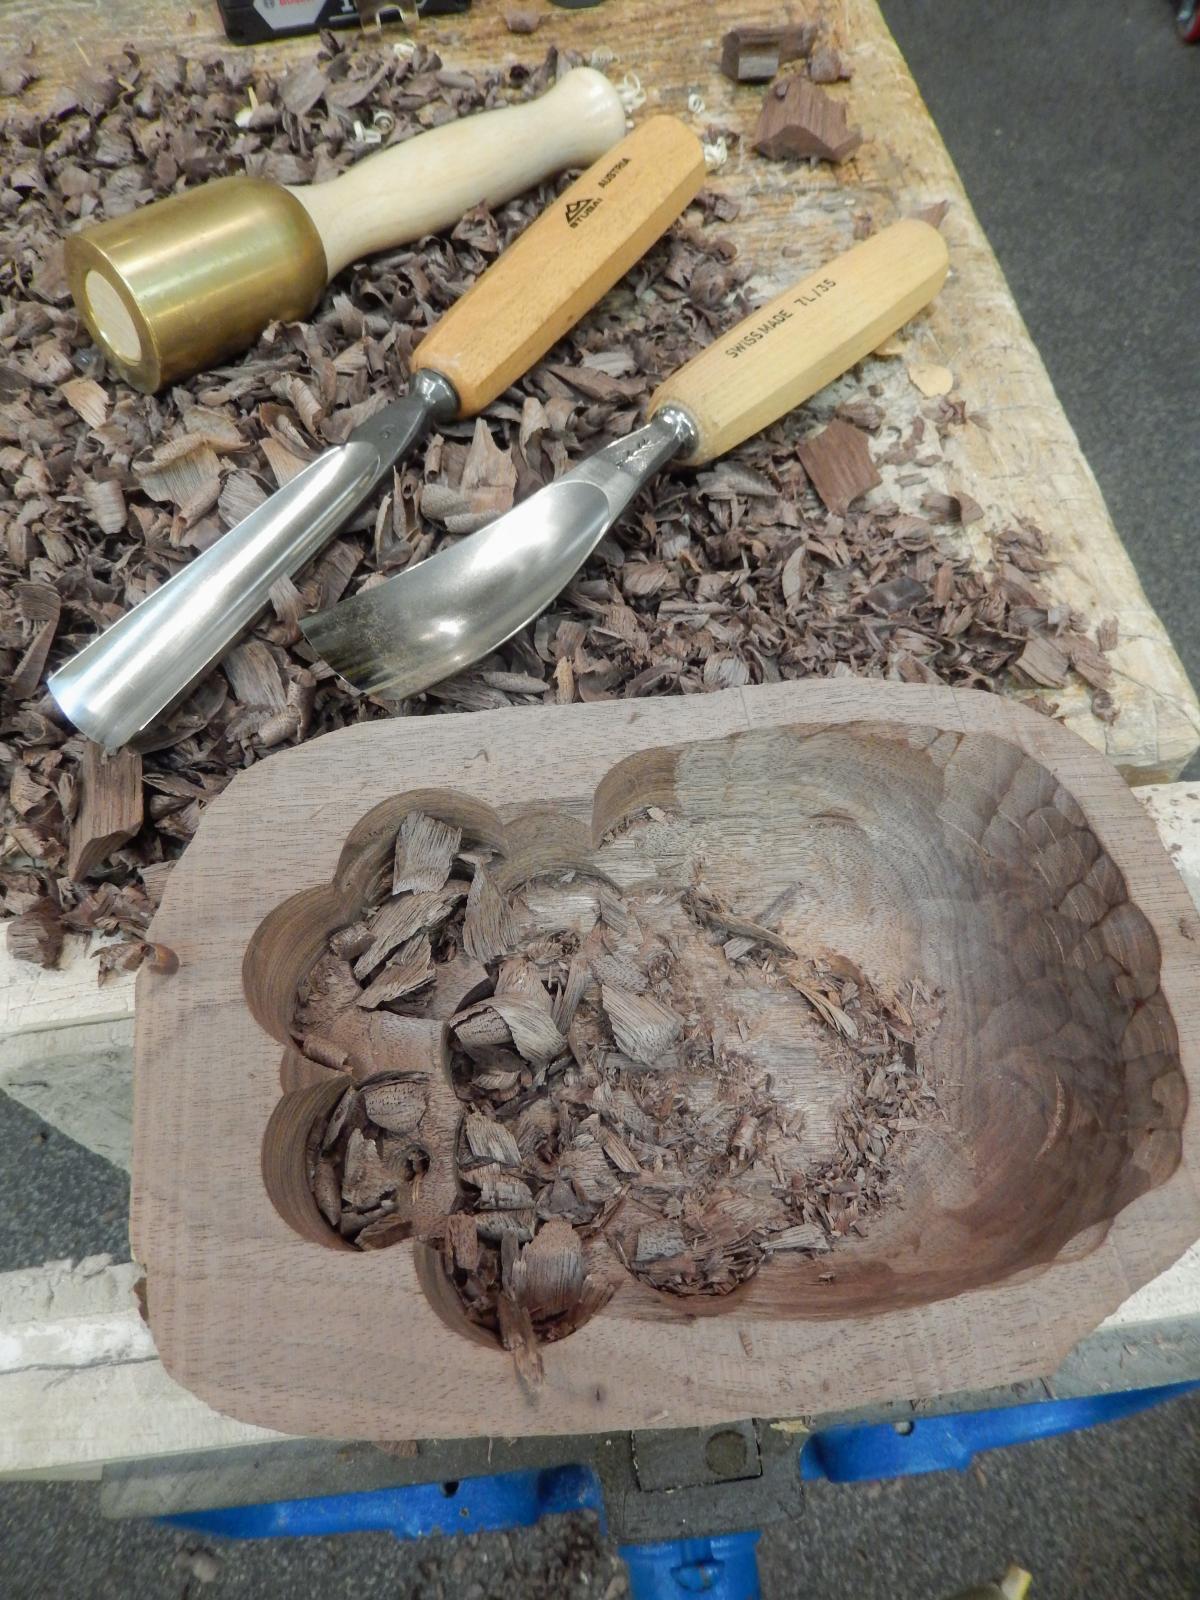
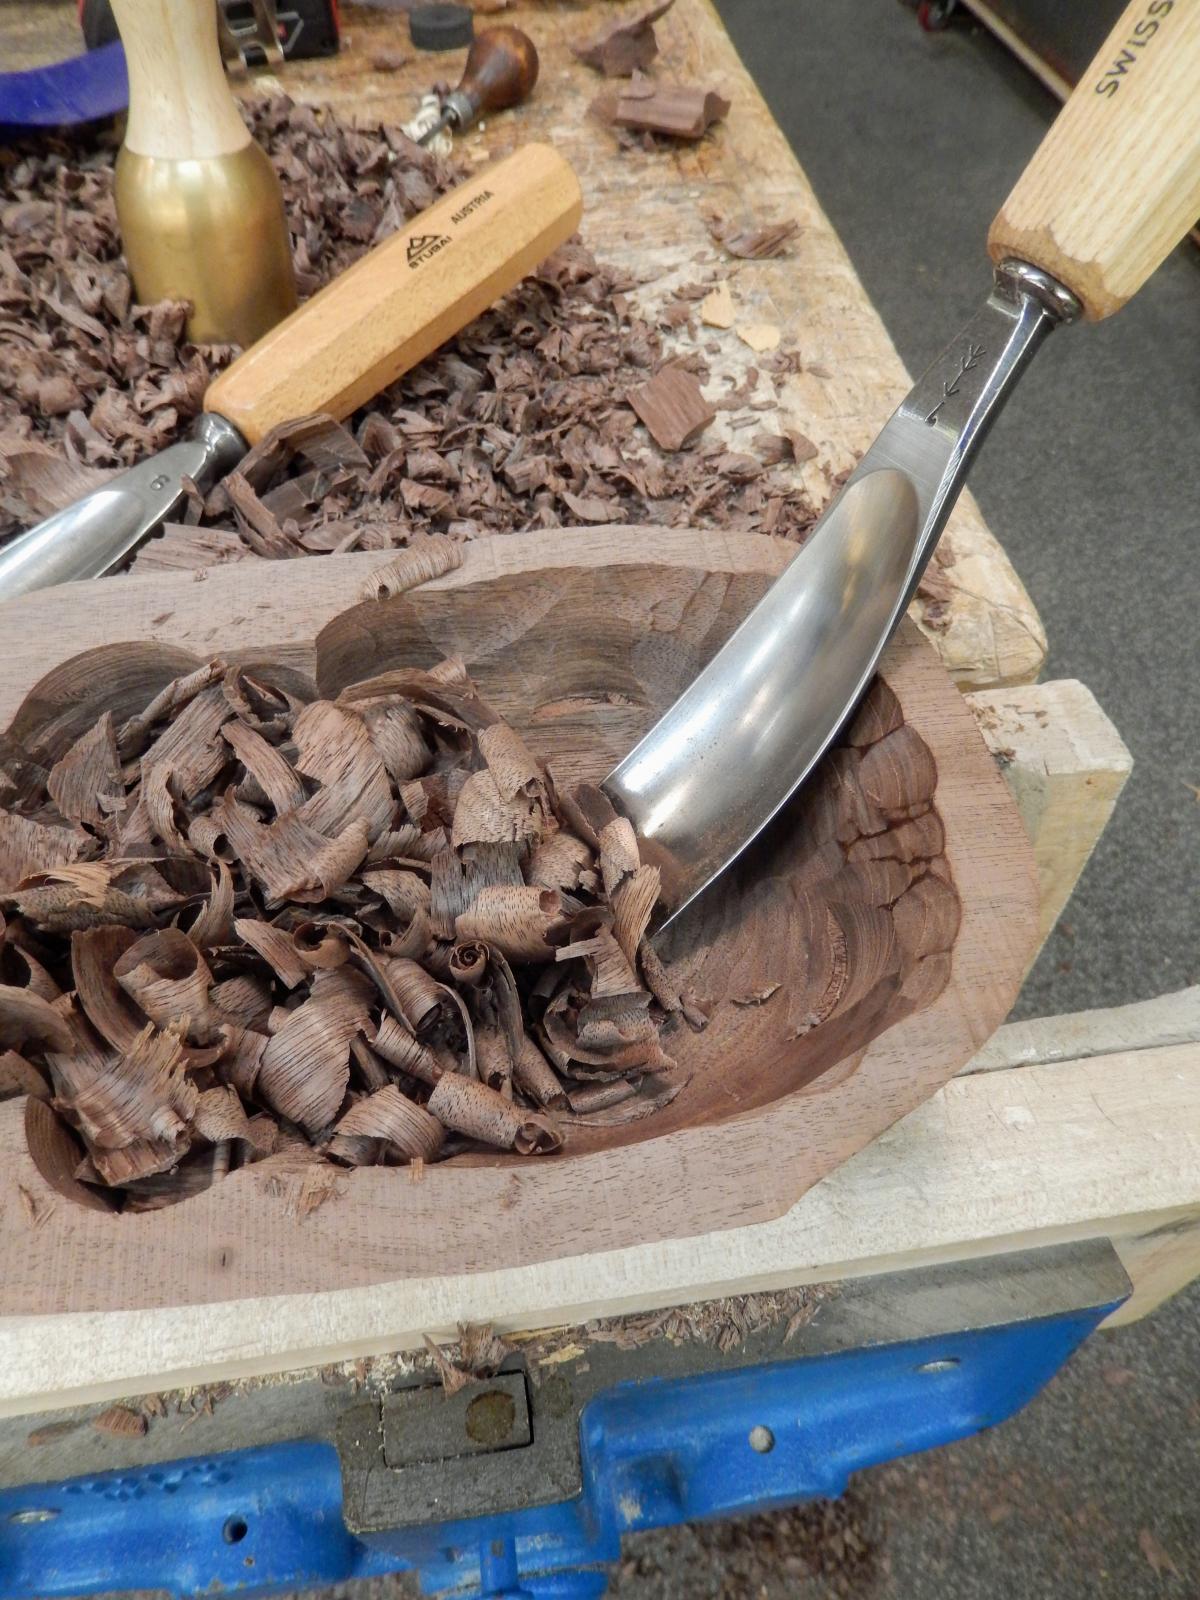
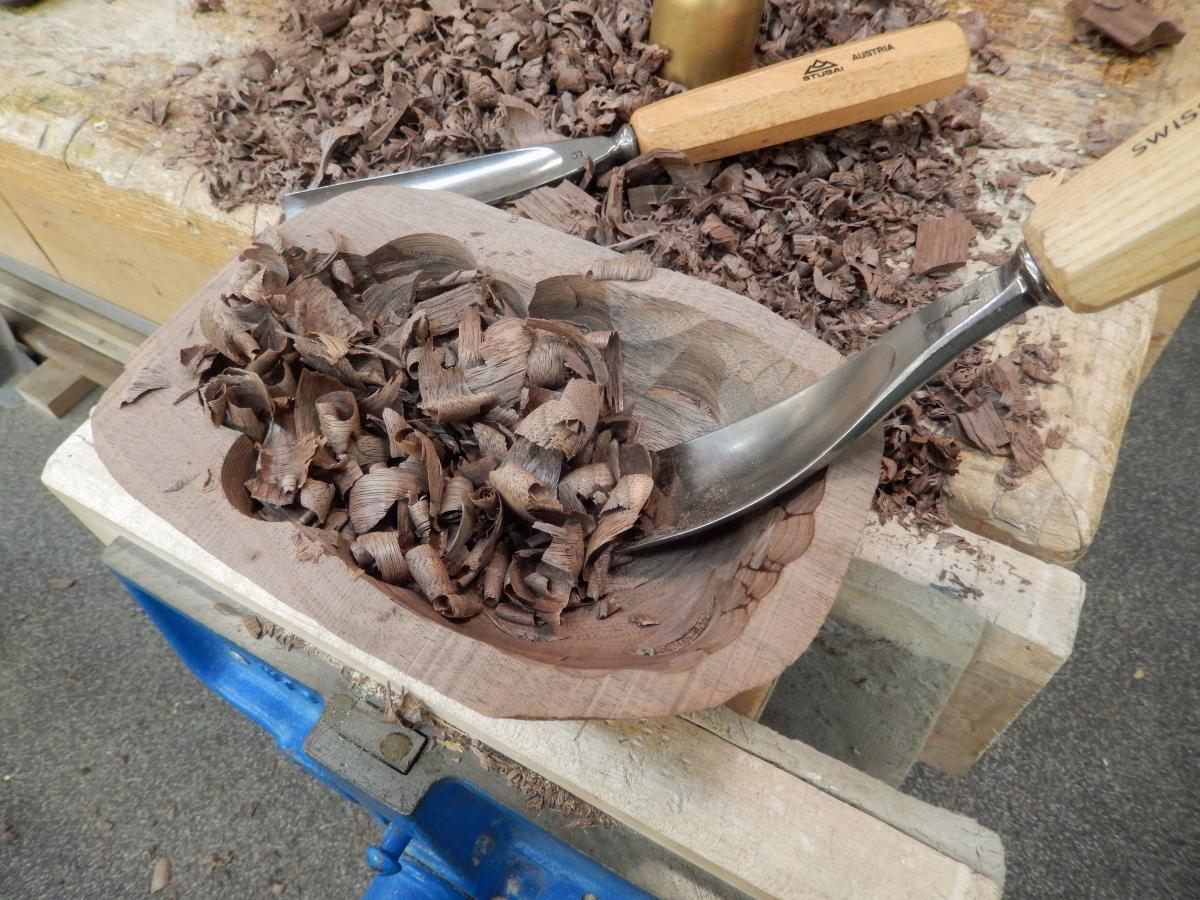
Gouging
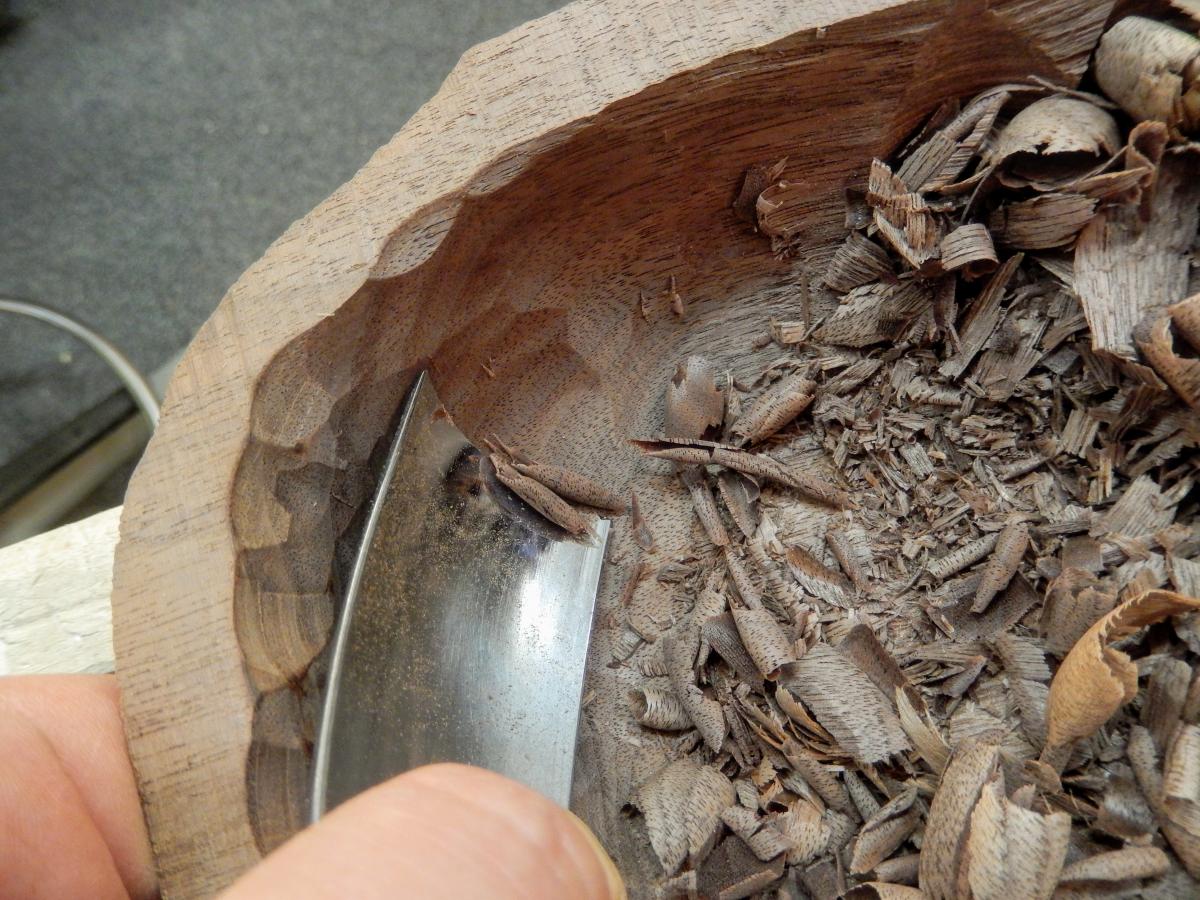
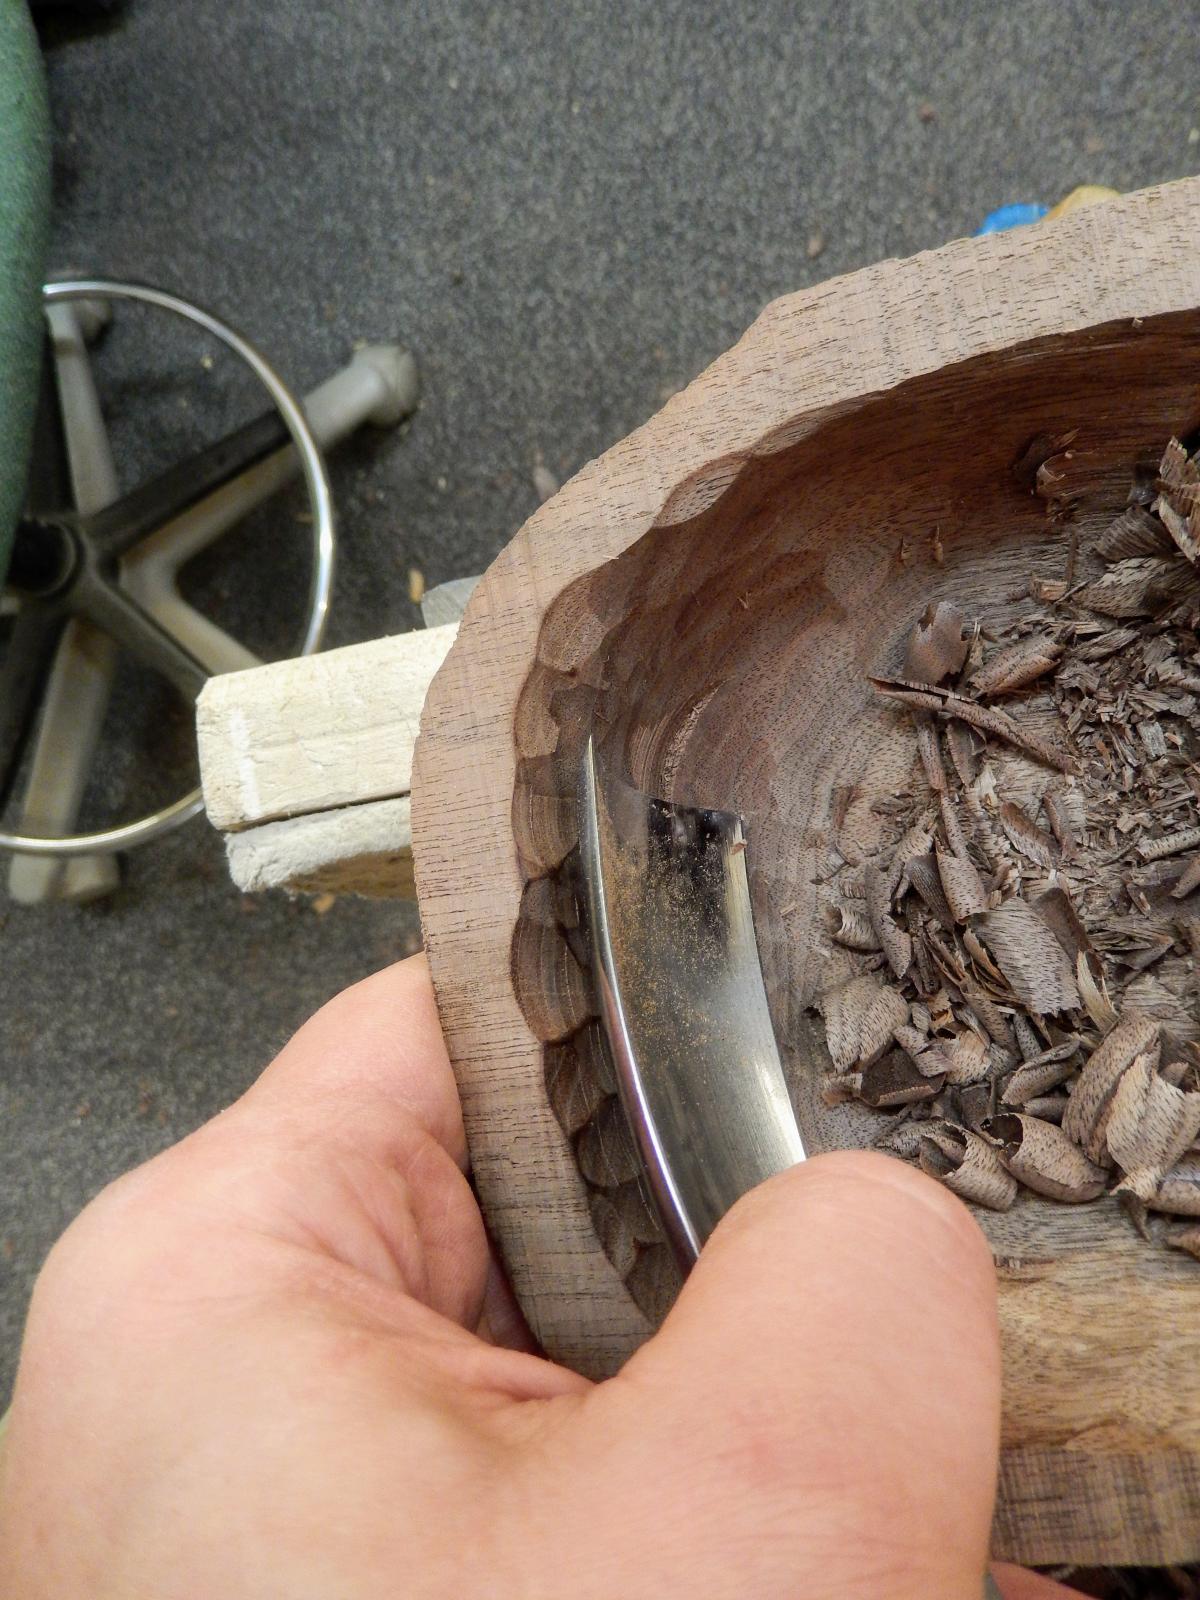
After drilling, clamp the bowl in a bench vise and use gouges to clear and shape the scoop. A bent gouge (in this case a #7 1-1/2" wide) is vital tool for accessing the scoop of a bowl
When this is done, and after you are happy with the level of surface smoothness achieved with sandpaper etc, you are ready to separate the keel from the block.
Using chisel you can begin prying the block from the keel. Push the chisel in between the block and the keel and carefully cleave them apart. The craft paper in the sandwich will fail first and will prevent any fiber tearout.
A simple trick to separate the bowl from the clamping block
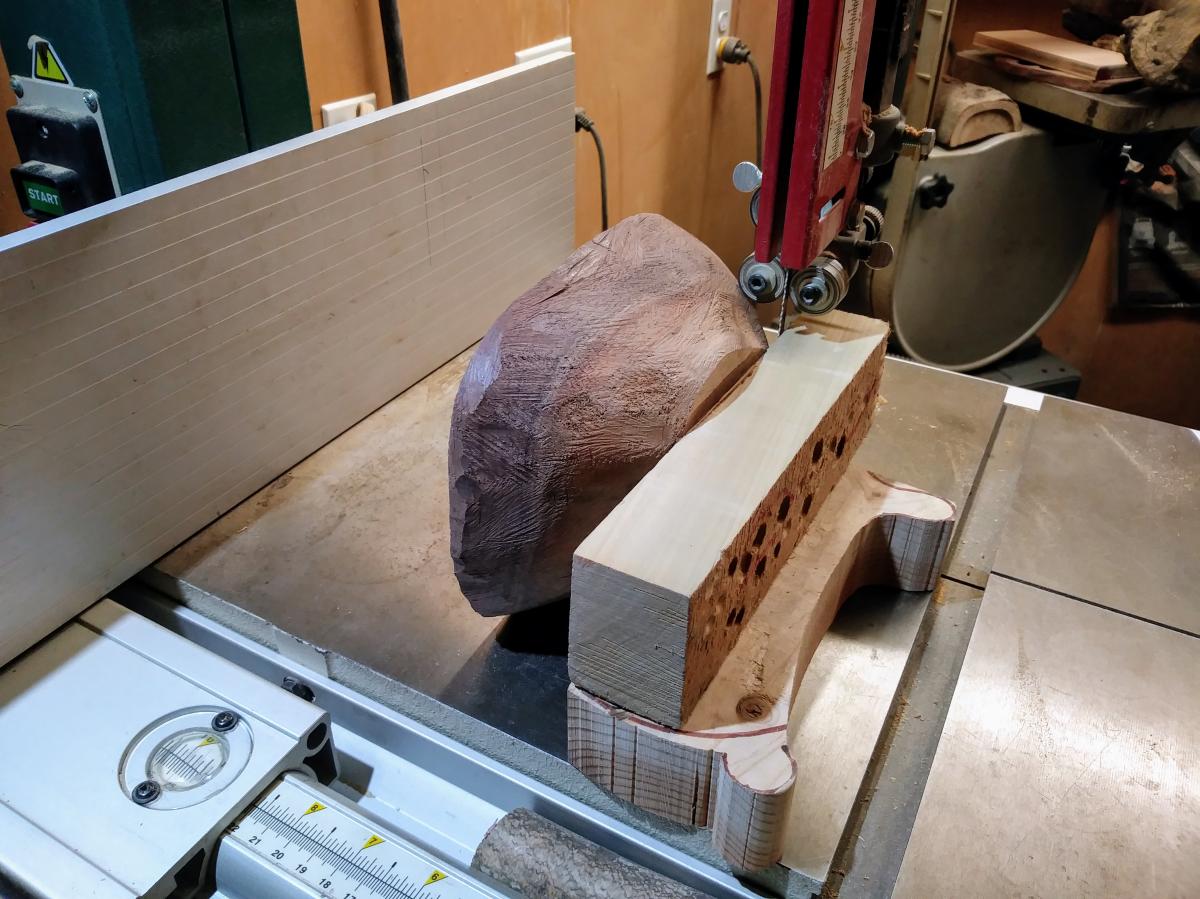
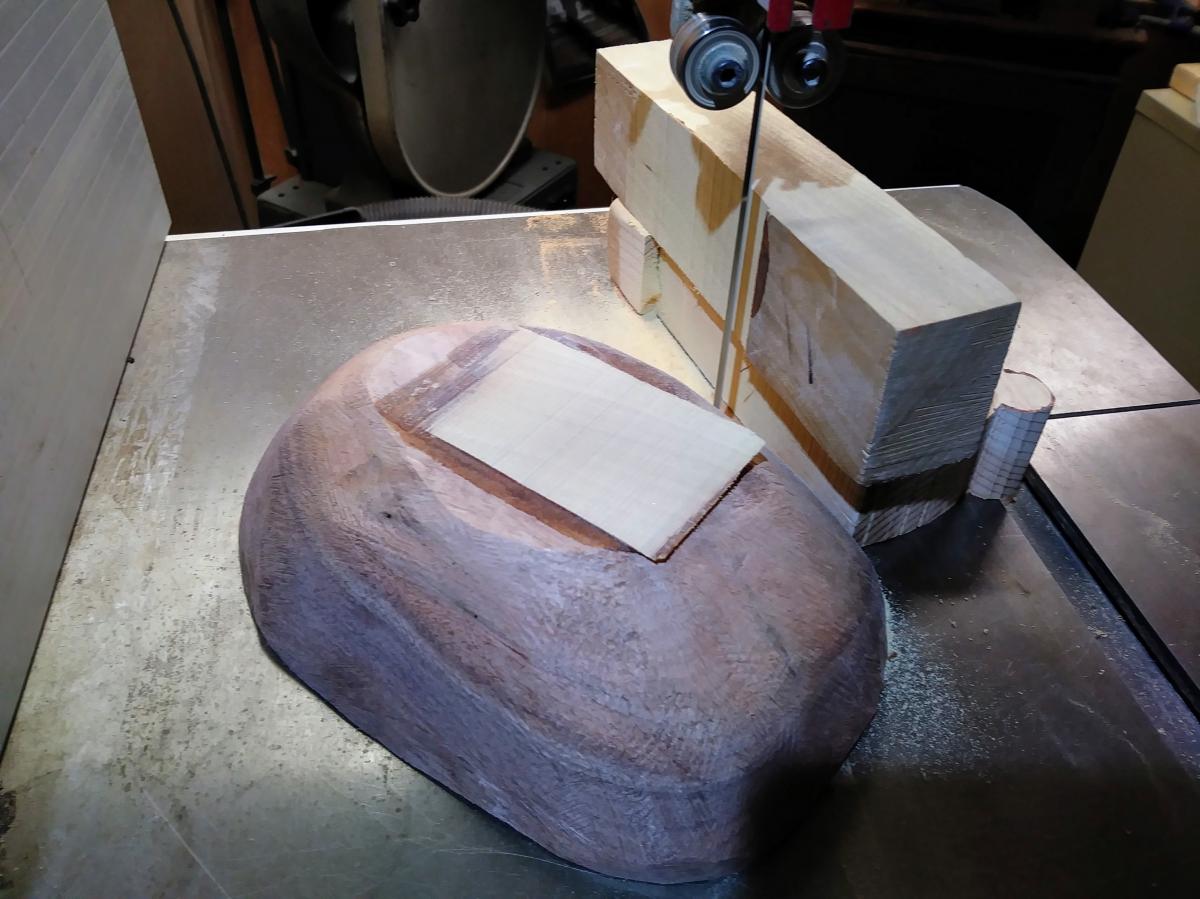
Connect a spacer under the keel block to allow the bowl to glide on the bandsaw table perpendicularly. The spacer should be high enough to allow the rim of the bowl to be in contact with the bandsaw table or to hover over it. Now saw off the keel block.
* If your bowl’s rims are flat and coplanar with the keel, you can saw off the block on the bandsaw with the rims flush against the fence.
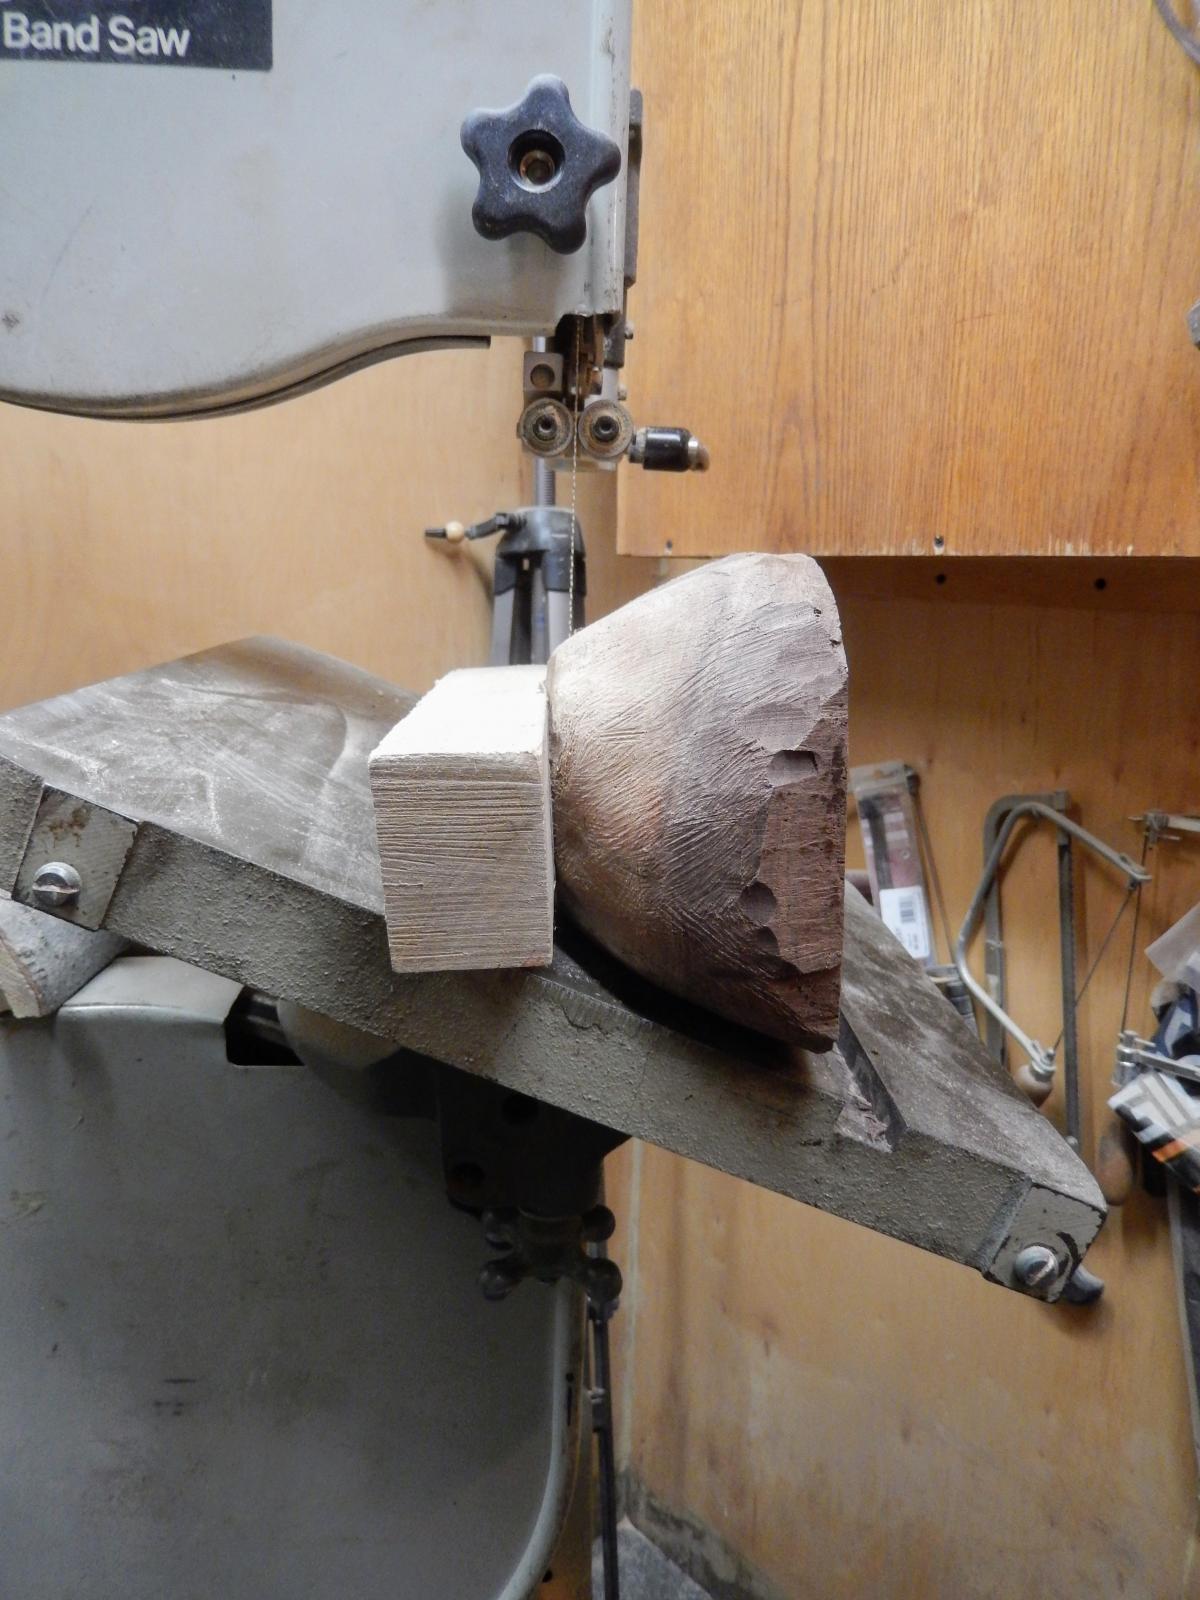
**And you can also saw off the keel’s block by tilting the band saw table until the blade is parallel to the block. But in this last scenario do not saw the block all the way as both the bowl and block might collapse inward towards the saw blade. Instead saw most of the block off and finish the work with a hand saw.
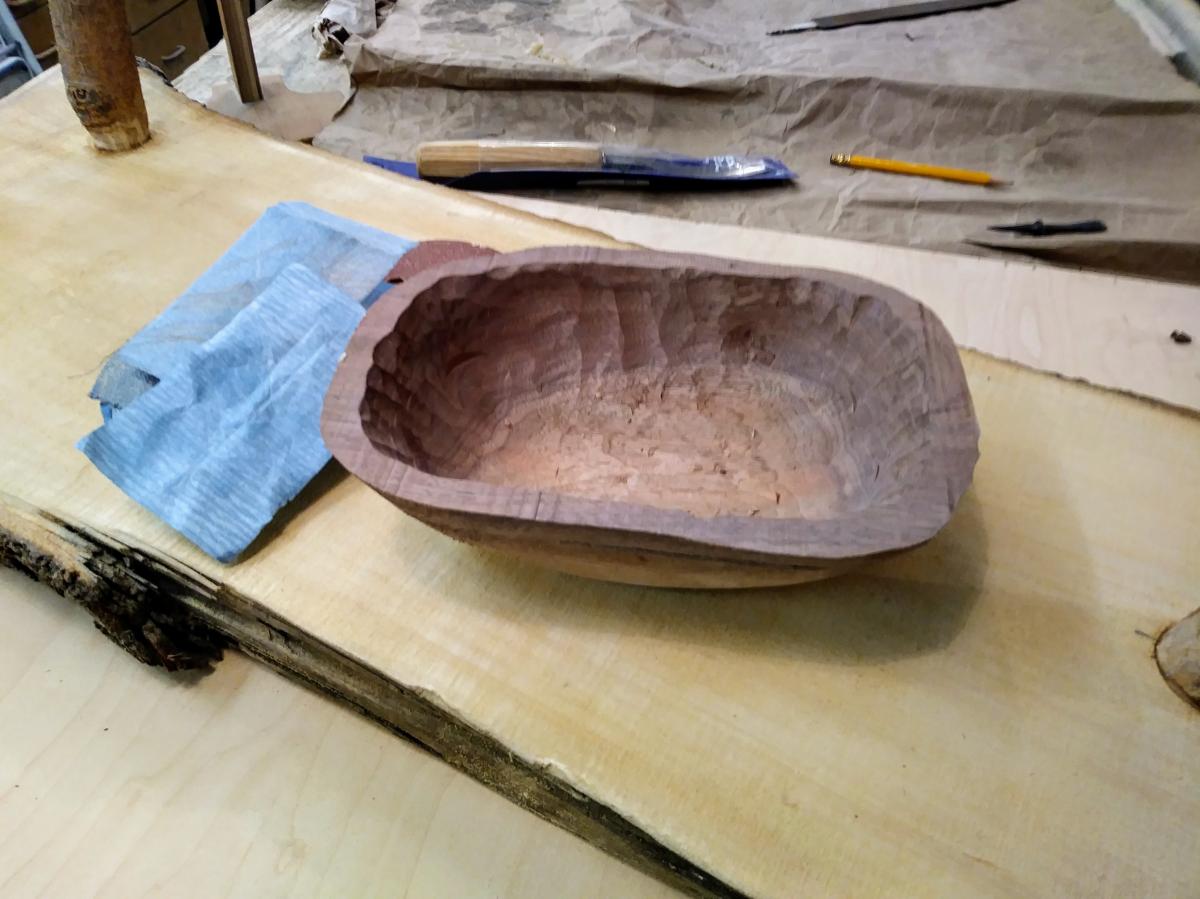
The walnut bowl in the pictures above was created by one of my students. Ideally, more time should have been spent in refining both the exterior and the interior of the bowl before removing the clamping block from the top of the bowl to the keel, and then before sawing off the keel. As a result of time constraints this bowl will look more rustic, showing gouge marks in the inside.
Note: Drilling with auger bits using a brace can be a very effective (and safe) method to excavate your bowl if you don't have a drill press and you are worried about the power drill catching when using large bits. Spoon bits will also work well, albeit not as fast. Because spoon bits do not have a spur - such as the ones on Forstner bits, or a lead screw - like those on auger bits, a spoon bit's can drill deeper and the hole's bottom will be smoother.


 Joel's Blog
 Built-It Blog
 Video Roundup
 Classes & Events
 Work Magazine